How to Get an Indian Visa: A Complete e-Visa Application Guide With Screenshots
AuthorMIRUTOBE editors
Table of Contents6 items
- Check first: are you eligible for an e-Visa at all?
- Five steps, counted backwards from your arrival date
- The full picture: 30-day, one-year, five-year and visa on arrival
- Where people trip up
- What if you are inside four days, or the e-Visa does not cover your route
- Common questions: land borders, a reissued passport, and when to apply
A Japanese passport holder travelling to India as a tourist applies online for an e-Visa before departure, and both the application and fee payment must clear at least four days before the planned date of arrival. Japanese nationals benefit from a reduced fee schedule under which the 30-day, one-year and five-year tourist visas all cost the same amount. Since April 2026 there is also a separate requirement on top of the visa: every traveller must submit a digital e-Arrival Card within 72 hours before landing.
Check first: are you eligible for an e-Visa at all?
- You hold an ordinary Japanese passport (diplomatic and official passports are excluded)
- It has at least six months of validity left at the time you apply
- There are at least two blank visa pages for the entry stamps
- You will arrive at one of the designated airports or seaports, not overland
- You have no military, security or police service in your background, serving or retired
Five out of five and the e-Visa route is open to you. The last line is the one that gets skipped. The Indian government excludes holders of official passports and anyone with a defence, military, security or police background, serving or retired, from the e-Visa scheme, and states that concealing such a background and attempting to enter on an e-Visa may result in refusal of entry and deportation to the point of origin. If that describes you, apply for a regular visa from the start.
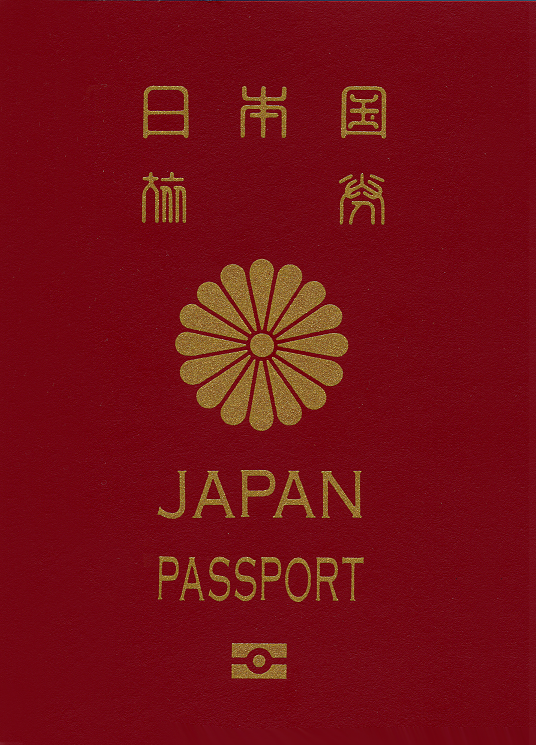
If the validity turns out to be short, renew the passport first and apply afterwards. An e-Visa is tied to a passport number, so renewing after you apply leaves you holding a document whose number no longer matches. You can still enter on the new passport as long as you carry both the old one and the new one; leave the old one at home and you are stopped at the desk.
Five steps, counted backwards from your arrival date
Step 5 is the new one. The paper disembarkation card has been withdrawn, and since 1 April 2026 every foreign national and every OCI card holder files an e-Arrival Card instead. The filing window runs from 72 hours before arrival until the moment you land. It is free, and it can be submitted on the official visa site, through the Bureau of Immigration portal, or in the government’s Indian Visa Su-Swagatam app. It is not a visa: holding an e-Visa does not cover it, and neither does arriving on a visa on arrival.
What to watch in Step 3 is where you are applying. Search for the form and convincing lookalike agency sites appear high in the results, charging the real fee with their own margin on top. The Indian government names indianvisaonline.gov.in as the single application channel and says no intermediary is required. Checking that the domain ends in gov.in settles it.
The official application form runs across six screens. As soon as you finish the first screen (passport type, arrival airport and visa duration), a 15-character Temporary Application ID appears in red at the top of the second screen. Save or screenshot that code immediately: if your browser times out, it lets you resume via Complete Partially Filled Form instead of starting over. On the third screen, alongside your address, the form requires both your father’s and mother’s place and country of birth — check the city names beforehand so you do not stall mid-session. After uploading the photo and passport PDF on the final screens, the system generates a 12-character Application ID for fee payment.
One more thing about payment and printing: payment confirmation can lag by up to two hours for network reasons. If the money has left your account but the screen has not moved and you start the application again, you have paid twice — wait the two hours and use Verify Payment first. Once approved, printing the notification email alone is not enough at the airport: log back into Check your Visa Status, download the PDF of the Electronic Travel Authorization (ETA) bearing your photograph, and verify that the Visa Status box explicitly reads GRANTED before printing it.
The full picture: 30-day, one-year, five-year and visa on arrival
Set against what other nationalities pay, the Japanese column is an anomaly. Most countries are charged USD 40 for the one-year visa and USD 200 for the five-year; Japan stops at USD 25 for both. If you expect to go twice across two calendar years, one five-year visa is cheaper than two 30-day visas and saves you a second application. Going once, arriving between April and June, the USD 10 30-day visa is the cheapest thing on the table.
The 180 days attached to the one-year and five-year visas is a calendar-year total, not a per-visit limit. Ninety days from January to June plus ninety from September to November uses it up exactly. Stay beyond 180 days and you are required to register with the Foreigners Regional Registration Office within two weeks.
The clock also starts in different places. On the 30-day visa, your 30 days of stay begin on the day you first enter India, though the ETA window during which you must enter runs for 30 days from issue — making two to three weeks before departure the sweet spot. The one-year and five-year visas count down from the day the ETA is issued, so applying four months ahead of a trip burns four months of validity before you board.
The fee is not refundable if you are turned down. The Indian government states that the fee buys the processing itself and is unconnected to whether an ETA is granted. Get the photograph rejected and have to start again, and you pay the whole thing a second time.
Where people trip up
The photograph, where square edges and a clean background are almost the whole test
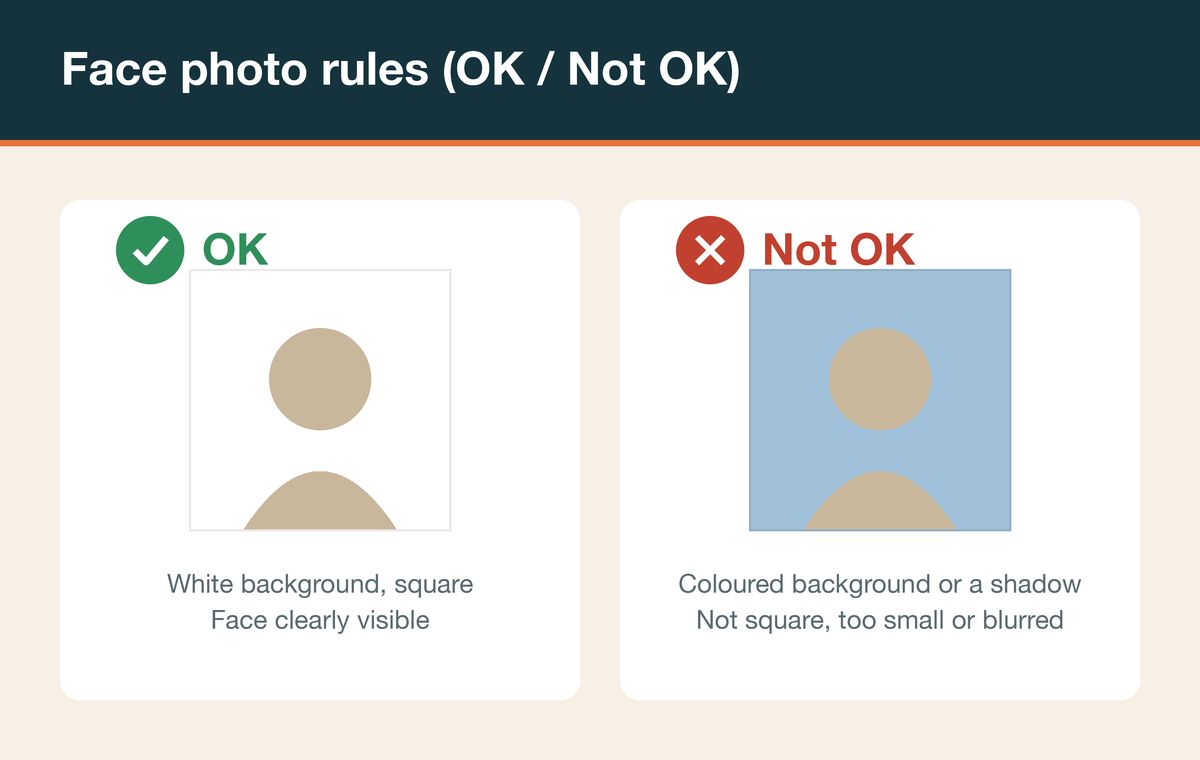
More applications come back over the facial photograph than over anything else. The official specification: JPEG, between 10KB and 1MB, equal height and width (at least 350 × 350 pixels), the whole face visible from the front with eyes open and no glasses, the head centred from crown to chin, a white or light plain background, no shadow on the face or behind it, and no border. A phone camera is fine. The catch is that a wall you believe is white will still throw a shadow if the light comes in at an angle. Stand half a step forward from a white wall near a daytime window and have someone else take the shot before cropping it to a square.
The passport bio-page has a different specification: PDF format, between 10KB and 300KB. A raw smartphone photo converted straight to PDF frequently lands between 1MB and 3MB and fails the upload check; resizing the image to around 1,000–1,200 pixels on the long edge before exporting to PDF keeps it cleanly in the 100KB–200KB range.
Dates run day, month, year, and blanks have to say NA
Every date field is DD/MM/YYYY. The first of April 1990 is 01/04/1990. Enter 04/01/1990 out of habit and you have told them you were born on the fourth of January, which no longer matches the passport. In the street address fields, avoid hyphens, slashes and hash signs, which often trigger validation errors; use spaces and commas instead (for example, 1 2 3 Shibuya).
The other snag is the empty field. There is no Japanese equivalent of the Citizenship or National ID number, and Visible Identification Marks has nothing to hold unless you have a mole or a scar. Leave either blank and the form will not advance, so type NA. The same applies to an old visa number you cannot remember; the Indian government accepts NA or Not Applicable in these boxes.
Occupation, religion and education are drop-downs where you pick the nearest match. A company employee is PRIVATE SERVICE, a student is STUDENT, someone keeping house is HOUSE WIFE, a retiree is RETIRED. For education, a bachelor’s degree is GRADUATE, a postgraduate degree is POST GRADUATE, and finishing high school is HIGHER SECONDARY. Even when you select STUDENT or HOUSE WIFE, the Employer/Business Name and Address fields below remain mandatory — enter your school’s name and address, or a spouse’s or parent’s details, so the form can advance.
Two references are required, one in India and one at home
Late in the form there are two Reference blocks, one for India and one for your country of residence. Not knowing anybody in India stalls people here, but the first hotel you intend to stay at satisfies it: name, address, and telephone number (digits only, without plus signs or hyphens). The home-country block takes a family member, your own address, or your employer. You can submit with a candidate hotel entered before accommodation is actually booked.
You also declare any travel to SAARC countries in the past three years. SAARC is the South Asian Association for Regional Cooperation: India, Pakistan, Nepal, Bhutan, Bangladesh, Sri Lanka, the Maldives and Afghanistan. A stopover in Nepal or Sri Lanka on an earlier trip belongs in that box.
What if you are inside four days, or the e-Visa does not cover your route
Once arrival is less than four days away the e-Visa application closes. Japanese nationals still have the visa on arrival as a fallback. It is issued at six airports only — Delhi, Mumbai, Chennai, Kolkata, Bengaluru and Hyderabad — at the visa desk after landing. It costs INR 2,000 and the immigration officer may grant up to 60 days with double entry. Print the application form, Annexure I, and fill it in beforehand and the desk moves faster. Copies are also handed out on board.
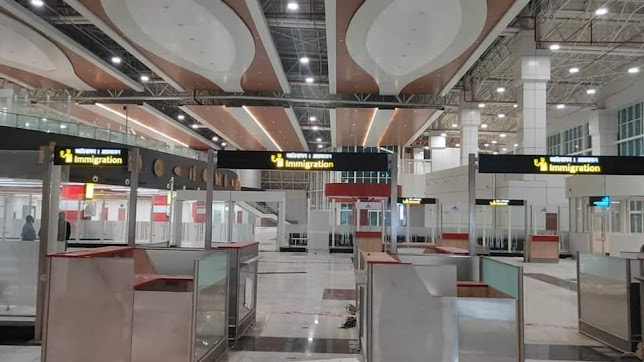
The visa on arrival has its own conditions: a stay of 60 days or less, a purpose limited to tourism, business, a conference or medical treatment, no residence or occupation in India, at least six months of passport validity, and a return ticket. It cannot be extended or converted. If your flight lands anywhere other than those six airports, this route is closed to you.
Some routes the e-Visa simply does not reach. Entry is limited to 33 designated airports and 19 seaports, so you cannot cross in overland from Nepal or Bangladesh. If your plan includes a land border, either fly in on a regular visa or arrange the land crossing as your exit. Departure may be made from any authorised immigration check post, so flying in and leaving overland works. If you are covering distance the way India’s trains make possible, that asymmetry between entry and exit is worth knowing before you book anything.
The first hour on the ground runs on data: the map, the ride-hailing app, and the screen the immigration officer wants to see. Queuing for a local SIM in the arrivals hall at Delhi or Mumbai costs time you cannot predict, which is the argument for arriving already connected. The ways of doing that are compared in our piece on eSIM, pocket Wi-Fi and roaming.
Common questions: land borders, a reissued passport, and when to apply
Can I cross into India overland from Nepal on an e-Visa?
No. Entry on an e-Visa is confined to 33 designated airports and 19 seaports, and land borders are outside the scheme. Plan to enter overland and you need a regular visa. Exit is unrestricted, so flying in and leaving by land works perfectly well on an e-Visa.
My passport was reissued after I applied. Do I have to start again?
No. An ETA issued against the old passport still admits you on the new one, on one condition: carry both. Leave the old passport at home and the number on the ETA matches nothing you are holding, which stops you at the desk.
When is the right time to apply?
For the 30-day visa, around two weeks before departure gives you room. There is time to reshoot a rejected photograph, and time to renew the passport if you find the validity is short. The one-year and five-year visas run down from the day the ETA is issued, so applying early costs you validity. In every case, inside four days you cannot apply at all.
Once the visa is settled, a first trip is easiest to build around the three northern cities. The Delhi, Agra and Jaipur circuit is laid out in our seven-day Golden Triangle plan, and if you are weighing it against somewhere else on a similar budget, the six-day Bangkok plan sits alongside it.
Before paying the e-Visa fee or booking Indian rail tickets online, it also pays to carry a backup card for 3D Secure blocks and to stack overseas medical treatment cover across multiple no-annual-fee cards — how the card insurance limits add up is worked out in our comparison of travel credit cards in Japan.
- Government of India, official e-Visa site (eligibility, photo specification, FAQ)↗Checked on 2026-10-14
- Country/Territory Wise e-Tourist Visa Fee (PDF)↗Checked on 2026-10-14
- Visa on Arrival — conditions, fee and eligible airports↗Checked on 2026-10-14
- Bureau of Immigration — where the e-Arrival Card is filed↗Checked on 2026-10-14
Source: the reference block above / Checked on 2026-10-14 / Photos: Muttley, Public domain and Agartala updater, CC BY-SA 4.0 (Wikimedia Commons) / Featured image: Quintin Soloviev, CC BY 4.0 (Wikimedia Commons)
Other sales ending soon


 4 days leftuntil Oct 24Air Busan Takamatsu-Busan Coupon: Up to 9,000 Yen Off Until October 24
 5 days leftuntil Oct 25JAL Hong Kong Campaign: Tokyo–Hong Kong Round Trip from 75,800 Yen (until 25 Oct)
 11 days leftuntil Oct 31Jin Air Kobe–Seoul: 5,000 yen off a round trip with code KTOUKB1, until 31 October
 11 days leftuntil Oct 31Jin Air to Busan: 4,000 yen off a round trip with code KTOPUS, first 300 only